So, you've finally purchased a new A.I. but now that you've unlocked your Google Home or Nest gadget, you're unsure of where to begin. It's important to set up the system correctly, so don't rush the procedure. This article explains how to configure a Google Home device, link and sync your Google accounts, and set your preferences.
Connect the gadget
Plug your Google Home gadget into an outlet to begin. The Google Home doesn't have a power button, so as long as it's plugged into an outlet, it's always on. After a short while, it will start to light up and start looking for your phone to establish a connection. Have your phone close at hand so you can see when the two are prepared for syncing.
Download the Google Home app.
The Google Home app is available on Google Play or the App Store, depending on whether you have an iPhone or an Android device. Accept the request to enable location permissions so that the device can more easily provide accurate local weather reports, tell you where the closest Walgreens is located, and other useful information. The Google Home will be able to view your network information, so make sure your smartphone is linked to your home Wi-Fi.
Using Google to log in and syncing your device
You must have a Google account in order to use a Google Home device. It's ideal if you already have a Gmail address; feel free to enter that. Go to gmail.com on your PC or smartphone to set up a new account if you don't already have one.
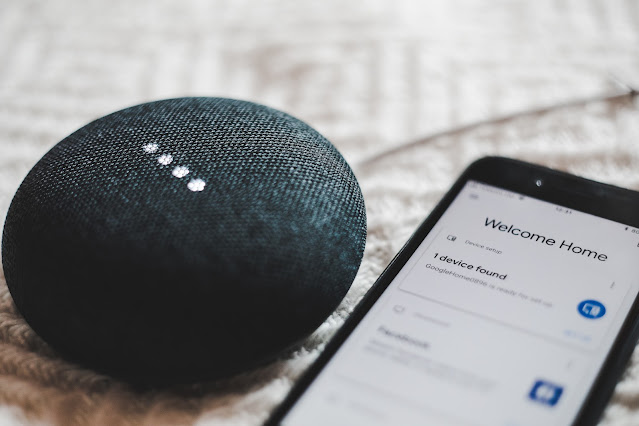
Open the Google Home app once you have logged in and let it a few seconds to adjust. The Google Home app will typically say something like, "New device detected" or "Set up device" at this point. Select this notification to start. If you do not see the notification, launch the app by choosing Set Up Device from the plus sign on the Home screen.
On the screens of your Hub and phone, a set of digits will appear; these numbers must match. To confirm that these numbers match and that you are connecting the correct device, click Yes. You're now prepared to connect after deciding which room the device will be in.
You might be prompted to enter your physical address for the device if it's necessary, if you haven't already. You'll need your Google Home device's location for things like local weather updates, traffic reports, and commute times, so make sure to specify the location.
Customize and connect accounts
In order to make sure it is compatible with your present services, Google Home will now enquire about a number of alternative connections you can make on your devices. You will need to decide on the following:
Voice Match: Voice Match is able to identify your voice among a variety of other voices. If there are numerous Google device users and Google accounts in the same household, this functionality is fantastic. It does, however, imply that Google will be gathering more data on you, so some people might want to refrain.
Music services: Services like Spotify, Pandora, TuneIn, iHeartRadio, and others are accessible through your devices. Any music services you use should be connected so that your Home/Nest device may play them.
Video services: You should also connect any video services you may have if you have a Google device with a display, such as the Nest Hub. Netflix, the CW, CBS, HBO Max, Hulu, Flex, YouTube, Viki, Crackle, Red Bull, Starz, and Google Play Movies and TV are among the video providers that are supported.
Google Duo: A number of Google gadgets support voice and video chats. If you want to set up this service through Google Duo, Home will ask you.
Google Photos: If you own a device with a display, Home will ask you if you want to link your account so it can play slideshows of your photos. This gives your gadget a new purpose, and even if you don't use Google Photos, you can link to generic images from Google's art collection in their place. There are further choices for customisation.
When you're done, Google will give you a chance to evaluate all your options before providing a lesson that explains the basics of how the device functions. It's a good idea to take advantage of the opportunity to learn more if you are given this tutorial! After that, the smart gadget is yours to do as you choose, but we're going to discuss a few extra customization options that consumers might want to spend some time exploring.
Set up your preferences
Tap the Menu button on the left side of the app, then tap Account Preferences to fully customize your Google Home device. This will direct you to a number of Google Assistant's add-on capabilities, allowing you to customize the device to meet your needs. You can modify the language used by your assistant or add a new language by going to Settings > More settings > Assistant.
You can choose which news sources you'd want the Google Home to use while reading you the news by pressing on News and then Customize. You will have the option to switch between sources whenever you like, whether you're an avid NPR listener, an NBC News enthusiast, or a Fox News devotee. Your Google Home device will then provide you with a news report that is tailored to your preferences if you say, "OK, Google, listen to the news."
Modify your Google Assistant caller ID
You can alter your nickname here and even teach Google Assistant to pronounce it correctly if you go down to Personal Info in the app. So, your wish is your Google Home device's command, whether you want the voice assistant to address you as "Ma'am," "Governor," or "Mary Poppins."
Set up your speaker or display for online shopping.
You can also make direct purchases using your Nest/Home device, which might be helpful for more casual shopping or hurriedly ordering something before you forget. Activate this option right away to make arrangements for purchases.
Make sure you are logged into the correct account before opening Google Home. Then choose your Nest/Home device, and then choose the top-right Settings cog. Select Allow Personal Results under Recognition & Sharing > Recognition & Personalization. You should turn on Voice Match if the gadget is being used by more than one person.
Return to the home screen now, and choose the icon for your account. To configure the ability to make purchases, navigate to Assistant Settings > Payments > Next. Pay Hands-Free, which can automatically approve payments on unlocked devices, and Approve Purchases with Voice Match, which requires voice verification before any purchases can be made, are some crucial characteristics to look for as you enable this capability (generally better for security).
Add compatible smart home products
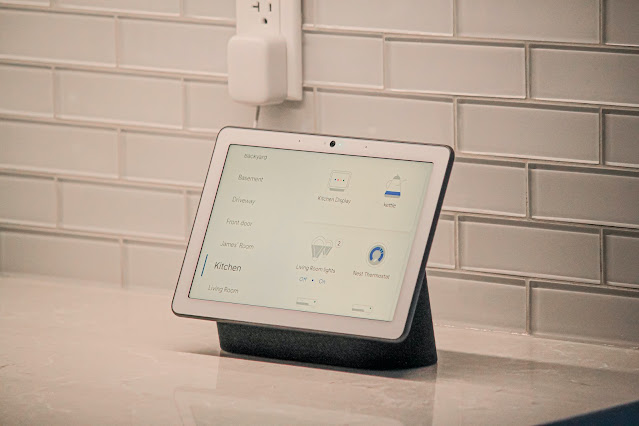
More than 30,000 smart home gadgets are compatible with Google Nest devices. To add a new device, select Home Control from the app. You won't be able to control these smart home appliances from the Google Home if they are not connected to the same Wi-Fi network.
When it comes to identifying connected devices, Google is fairly adept. It's crucial to keep in mind that there is an additional feature while configuring smart plugs. You will see a Device Type choice during setup or later on when browsing Device Settings for your smart plug.
The type of equipment you plug into that smart socket is then your choice; options include a smart lamp, air conditioner, coffee maker, fan, humidifier, and others. Setting the appliance type can aid in the app's ability to recognize distinct smart plugs and may be valuable for tracking particulars like energy use. Additionally, it makes it easier for Google Assistant to understand commands, allowing you to instruct the appliance directly rather than the smart plug!
Once everything is hooked up, you will be able to tell Google to dim the lights by saying "OK Google, dim the lights," and your Philips Hue lamps will do the same. Then you can consider programming your Google Nest/Home device with routines so that it can carry out a number of tasks in response to a single voice command.
See our selections for the top Google Home-compatible gadgets.
Troubleshooting suggestions during setup
You are not alone if something went wrong while you were trying to set up your Nest or Home device.
Unfortunately, there are frequently freezes and crashes with the Google Home app. Occasionally, when you try to couple the app with your home system, nothing happens. Other times, the newly linked Home device doesn't even appear as an icon in your list of Home apps.
You might find that troubleshooting is really difficult if you're still in the pre-setup phase. We understand how aggravating it is, but if you keep trying and are patient, the program restart will fix it. Repeat your attempts until it succeeds.
Rebooting will be simple because nothing on the device is currently properly connected. Remove the plug from your Google device, wait at least ten seconds, and then re-plug it.
Make sure the Home App is entirely closed. If you have an Android device, simply swipe the app's screen from bottom to top. The iOS approach and this way for closing an app are very similar. On older iOS devices, you must double-tap the Home button and then swipe your program up to close it.
Restarting your Google Home device will be beneficial at that time to start a hassle-free pairing process. You shouldn't have any trouble automatically connecting again if your Wi-Fi connection is strong. You have a few extra choices to try if you are still having trouble pairing products correctly. You can always seek advice from other users in the Google Nest Community forum to find out how they handled similar problems. They might have discovered a solution to the problem that would apply to you as well.

Post a Comment